
Buildings, floors and rooms are the "frame" of everything in VinaBos: contracts, meter readings and invoices all attach to a specific room. Do this step carefully once and every later step becomes quick. For a building with about 10 rooms, it takes around 15 minutes.
Before you start
- Your role needs the create buildings, create floors and create rooms permissions. The owner has them all.
- Have the building name and address and the room list ready: room codes (for example 101, 102), monthly rent and floor area if you have it.
- Take a look at Settings › Services & fees to see the electricity, water and internet rates already set up. Rooms use these services when you create a contract.
Steps
Open the building list and click Add building
In the left menu, under Assets, click Buildings (①). On the list page, click Add building (②).
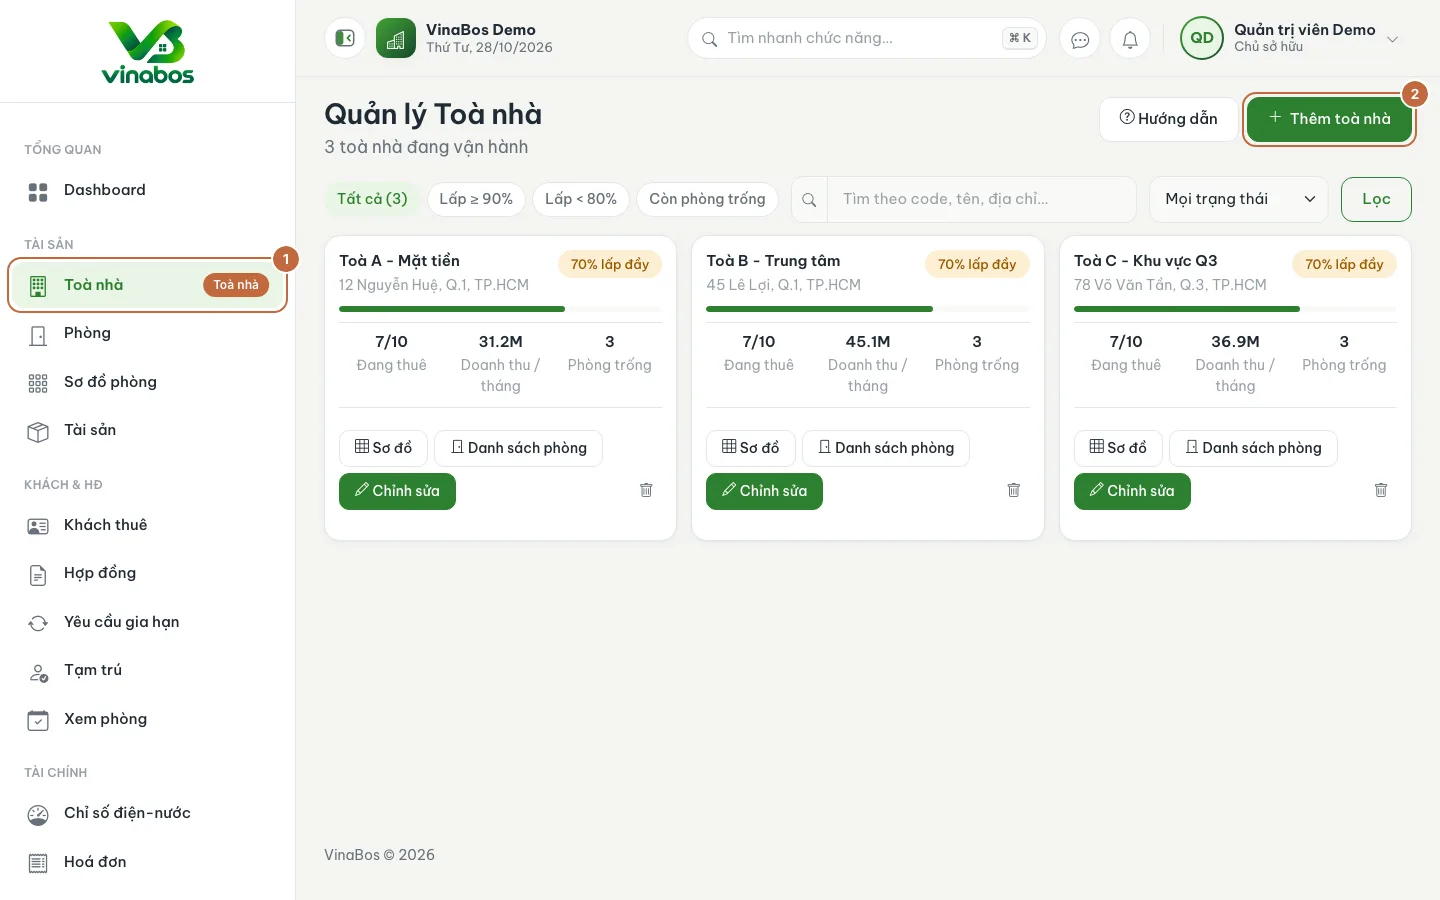
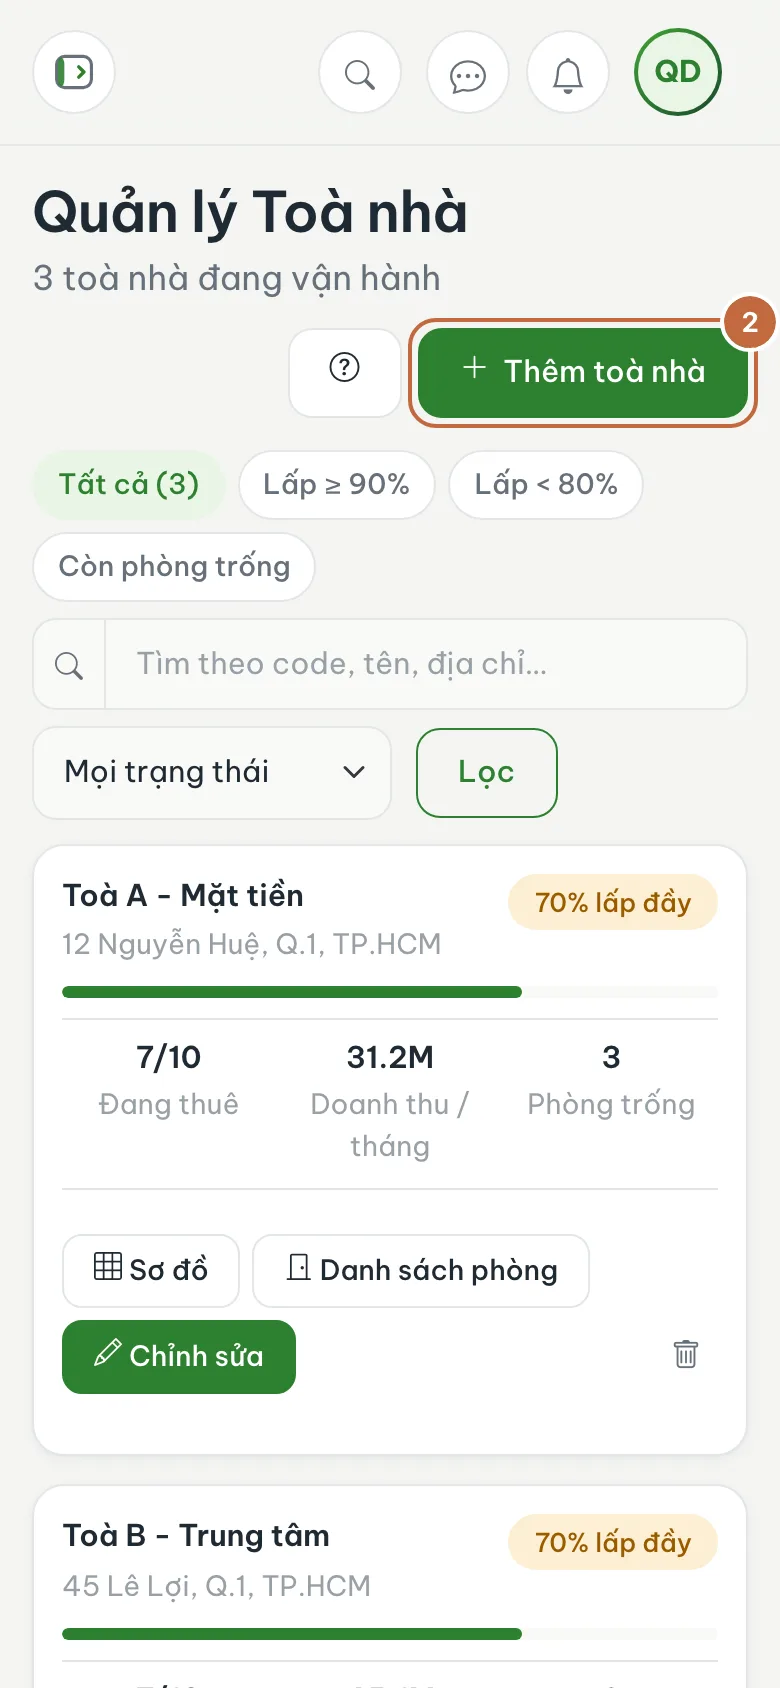
Buildings list: the Buildings menu (①) and the Add building button (②) Fill in the building's details
Fill in Code (for example
TOA-A, used as a short name) and Name (①); both are required. It is worth adding the Address (②), Number of floors and Rent / month if you rent the whole building from someone else. Click Create building (③) to save.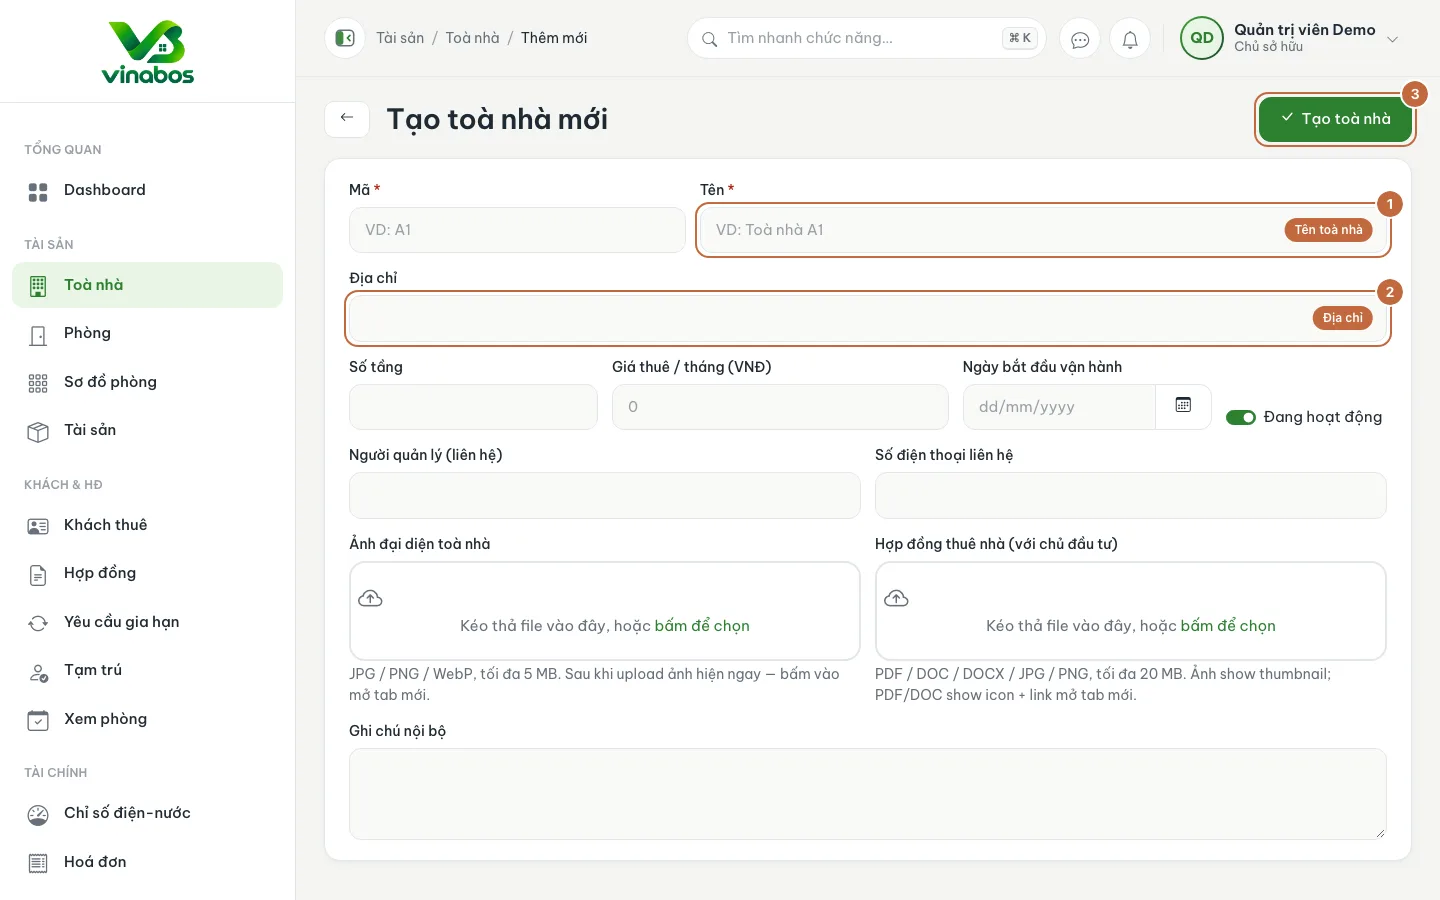
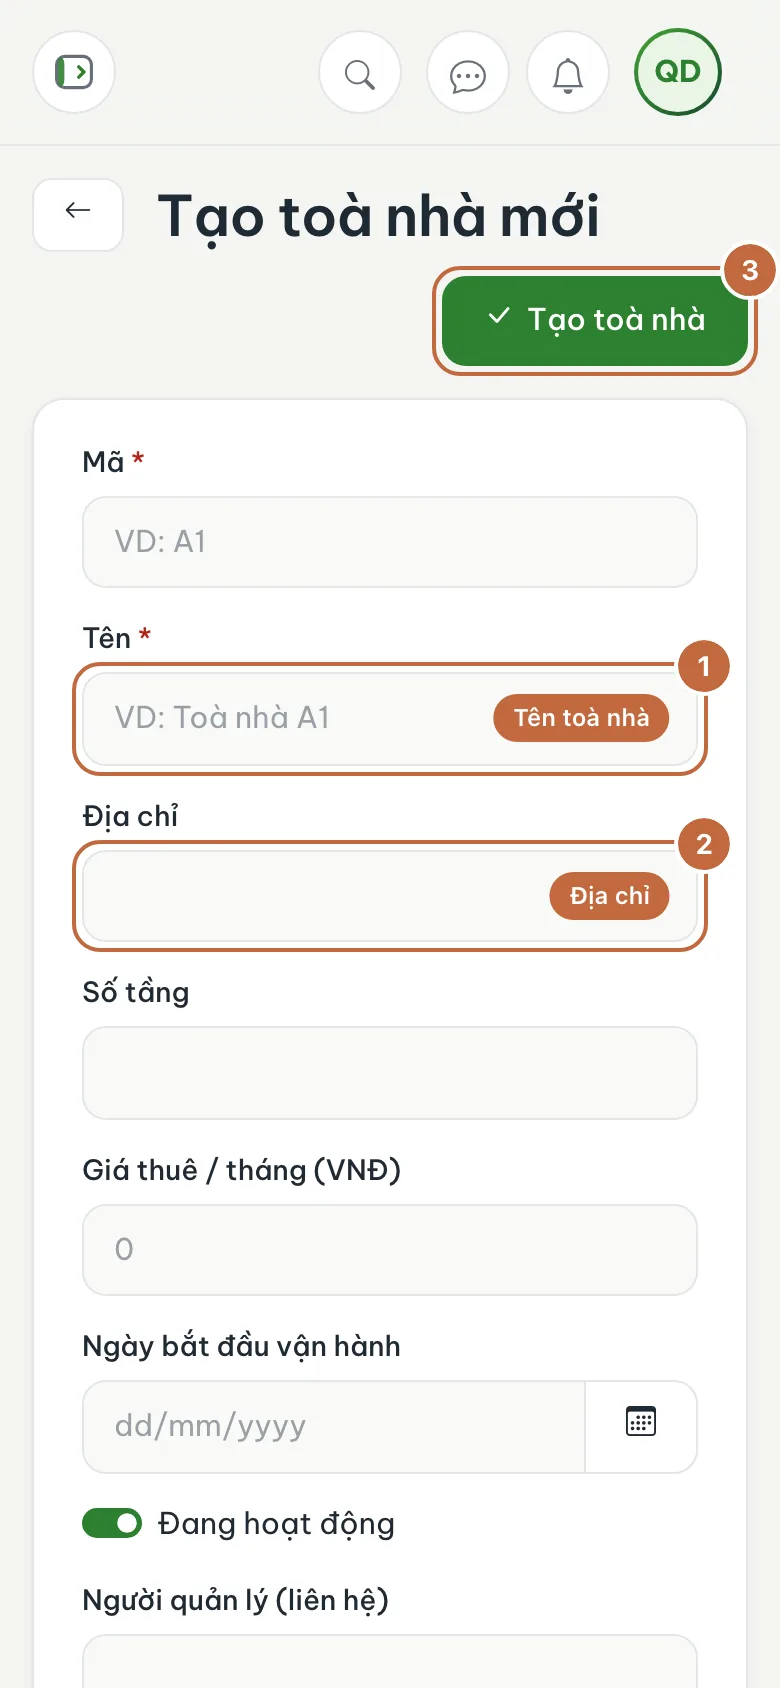
Create building form: name, address and the save button Add the floors
After saving you land on the building detail page. Find the Floors & rooms block (①) and click Add floor (or Create the first floor when there are none yet). Enter a floor code and name, for example "T1 - Ground floor", then click Create floor. Repeat for the remaining floors. Each floor has a door icon (②) to see that floor's rooms.
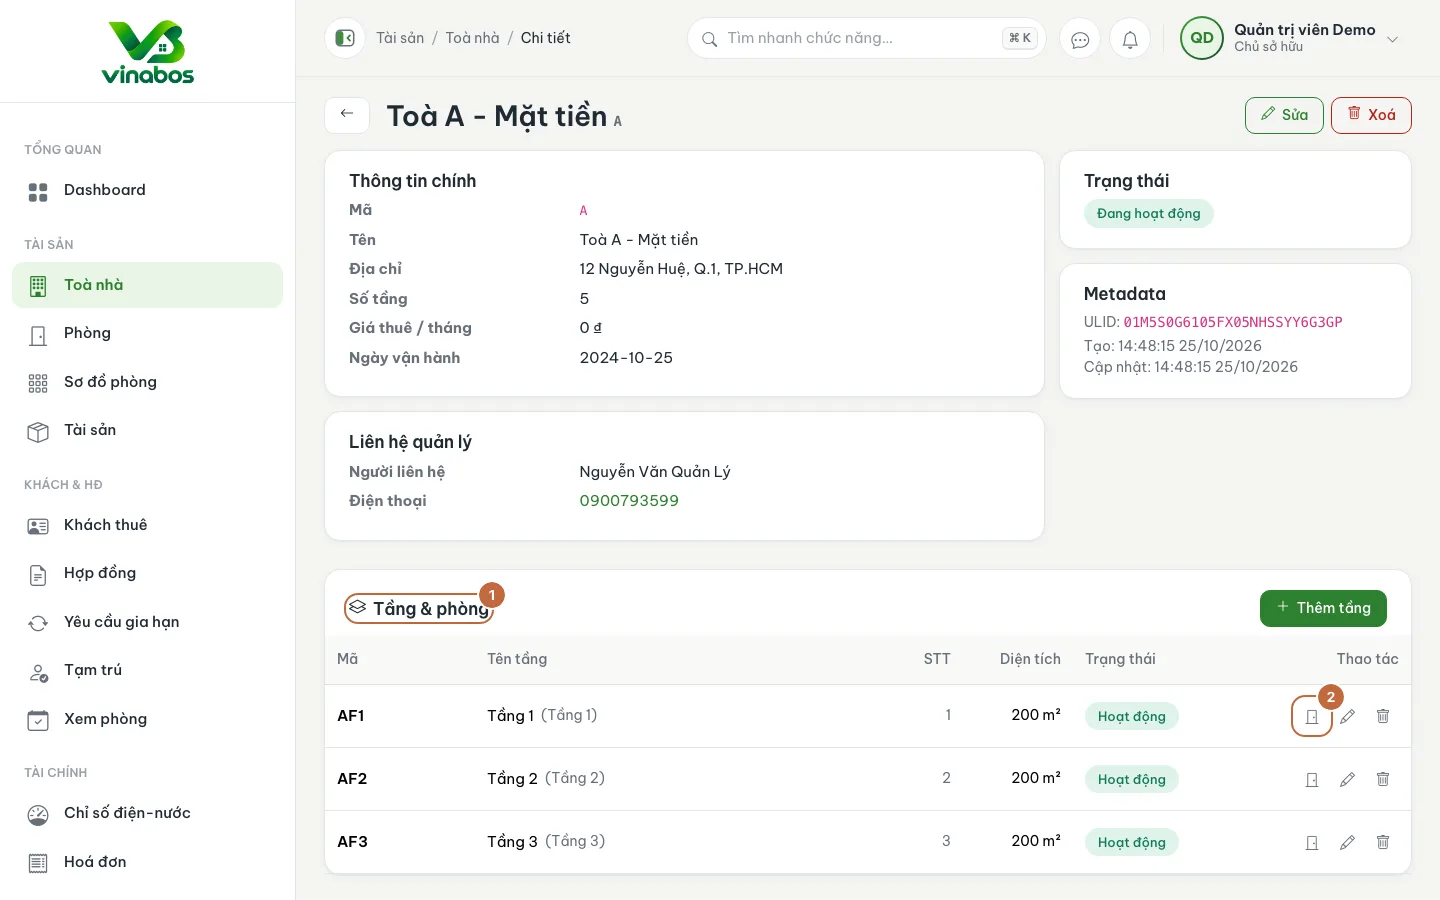
The Floors & rooms block on the building detail page Create rooms
From the building's room list, click Create room. If there are several floors, pick the Floor first. Fill in Room code (①) and Rent / month (②), both required, plus floor area, capacity and the default deposit if you wish. Click Create room (③). Repeat for each room.
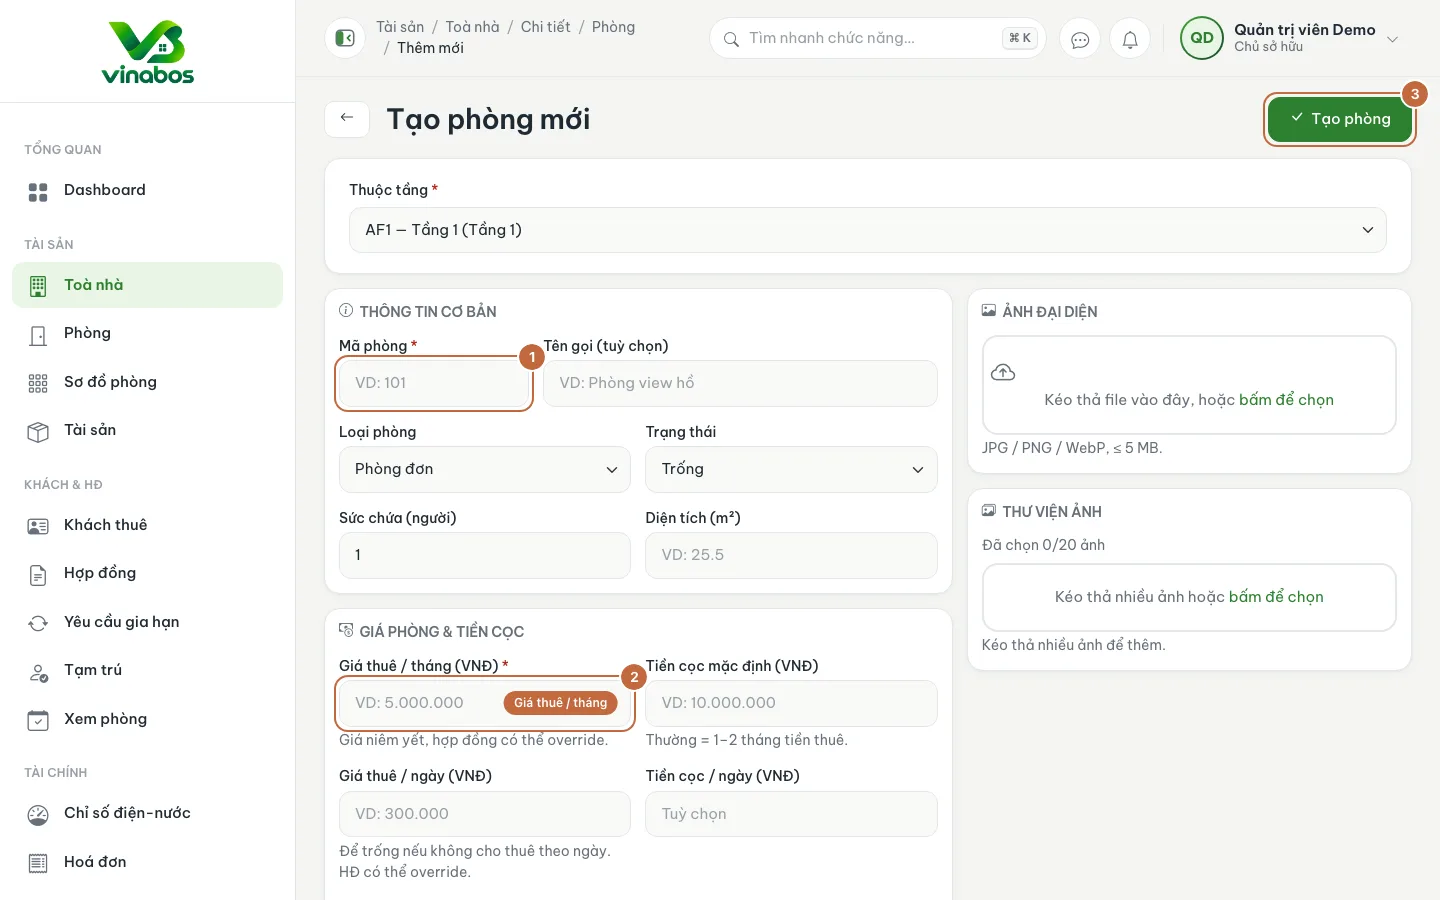
Create room form: room code, rent and the Create room button Check services and rates
Go to Settings › Services & fees. The Electricity (①) and Water (②) rows are usage-based services, so they need meter readings. If a rate is not right for you, change it here so new contracts use the correct price.
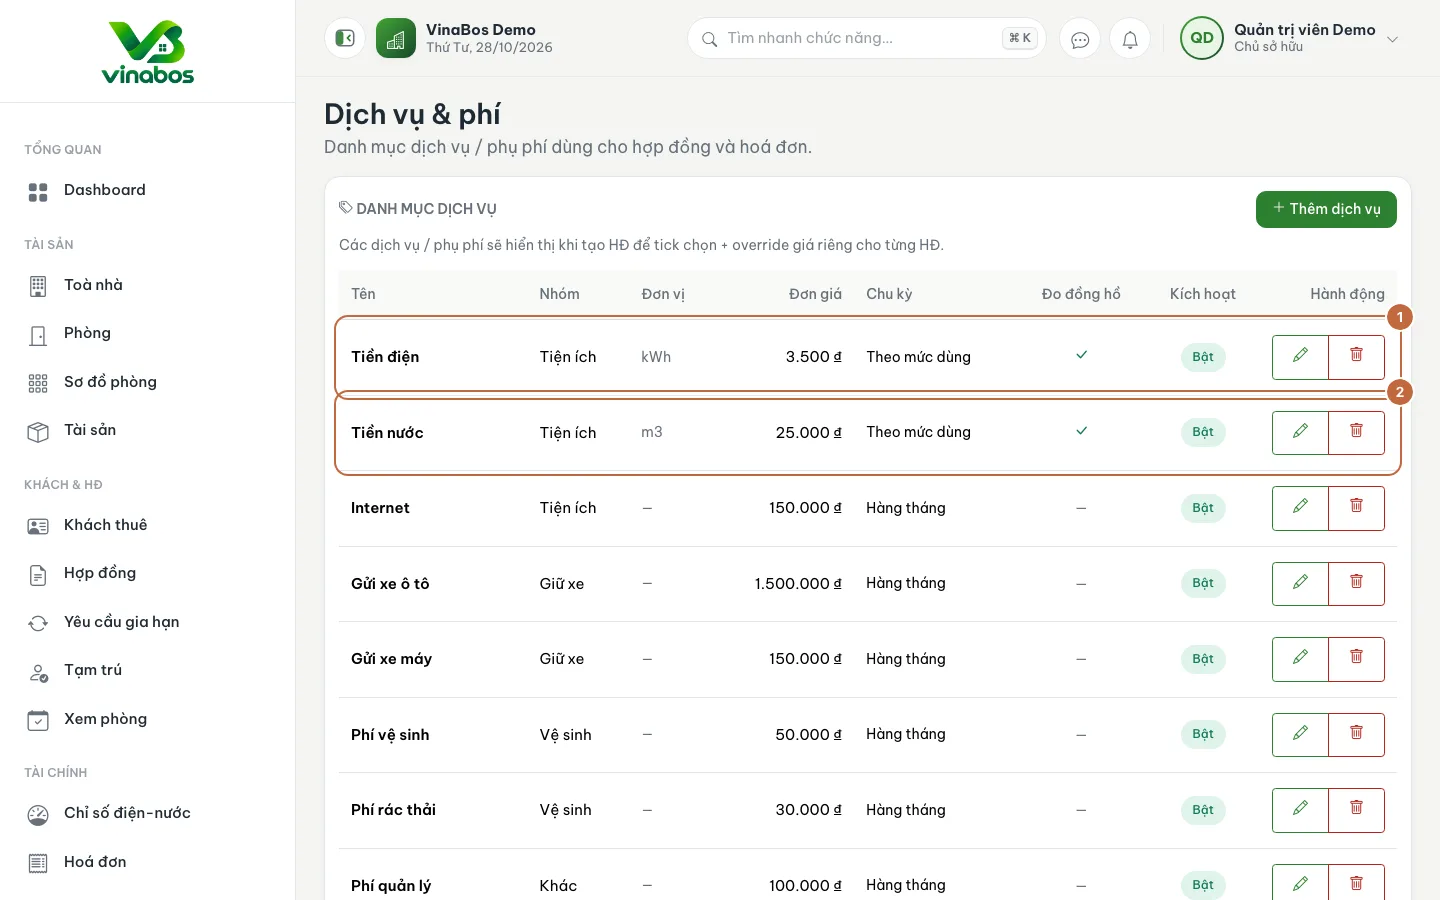
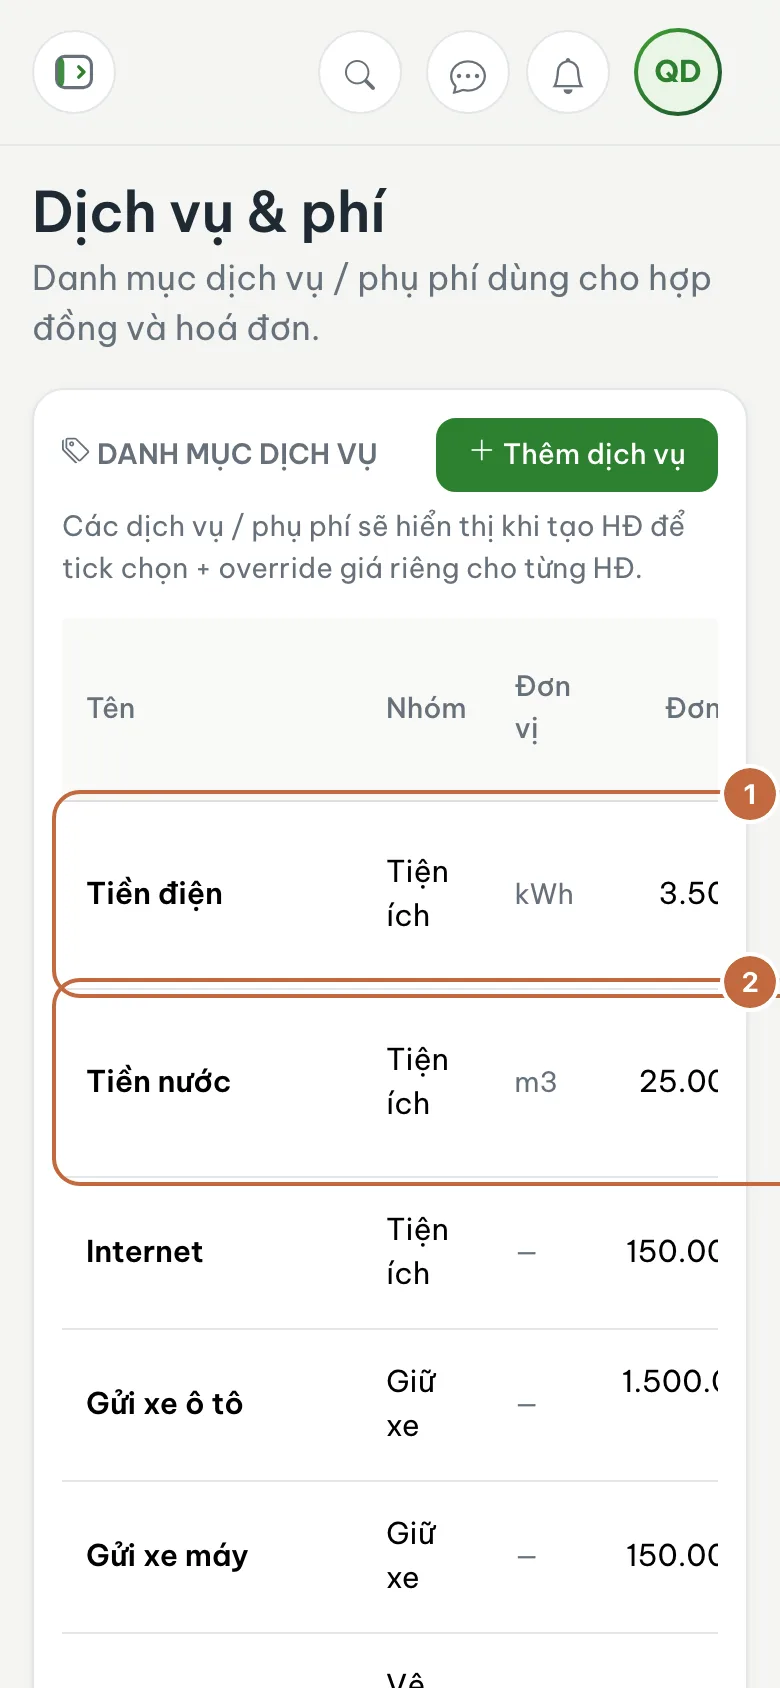
Services & fees catalog with the electricity and water rows
Use an easy-to-read pattern for room codes, such as floor number plus a running number: 101, 102, 201. Finding rooms and reading invoices later becomes much easier.
Deleting a building or floor that already has rooms and contracts affects the related data. Only delete when you are sure it was created by mistake.
On mobile
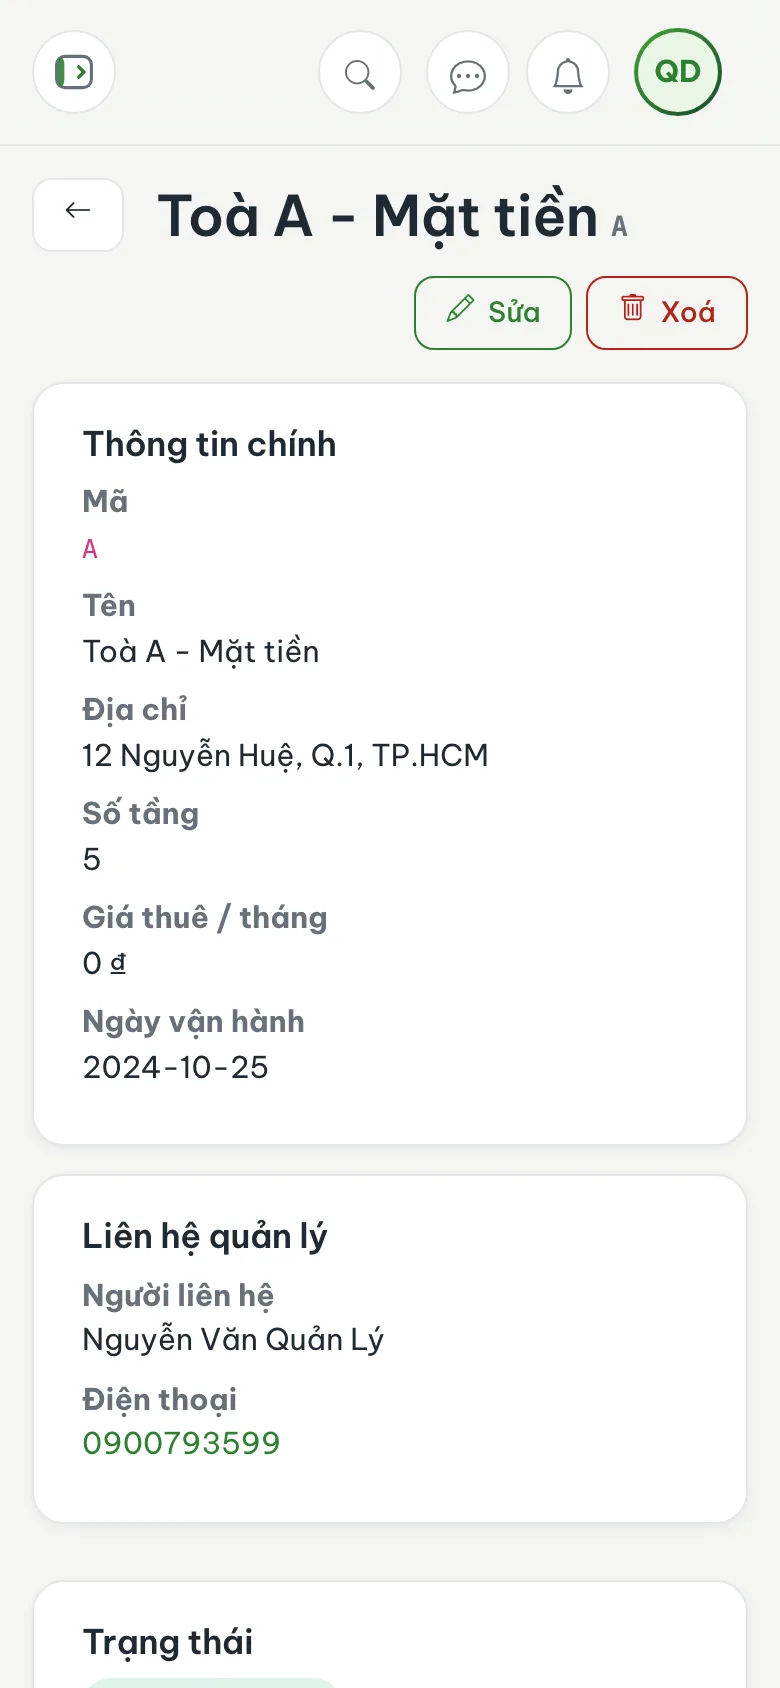
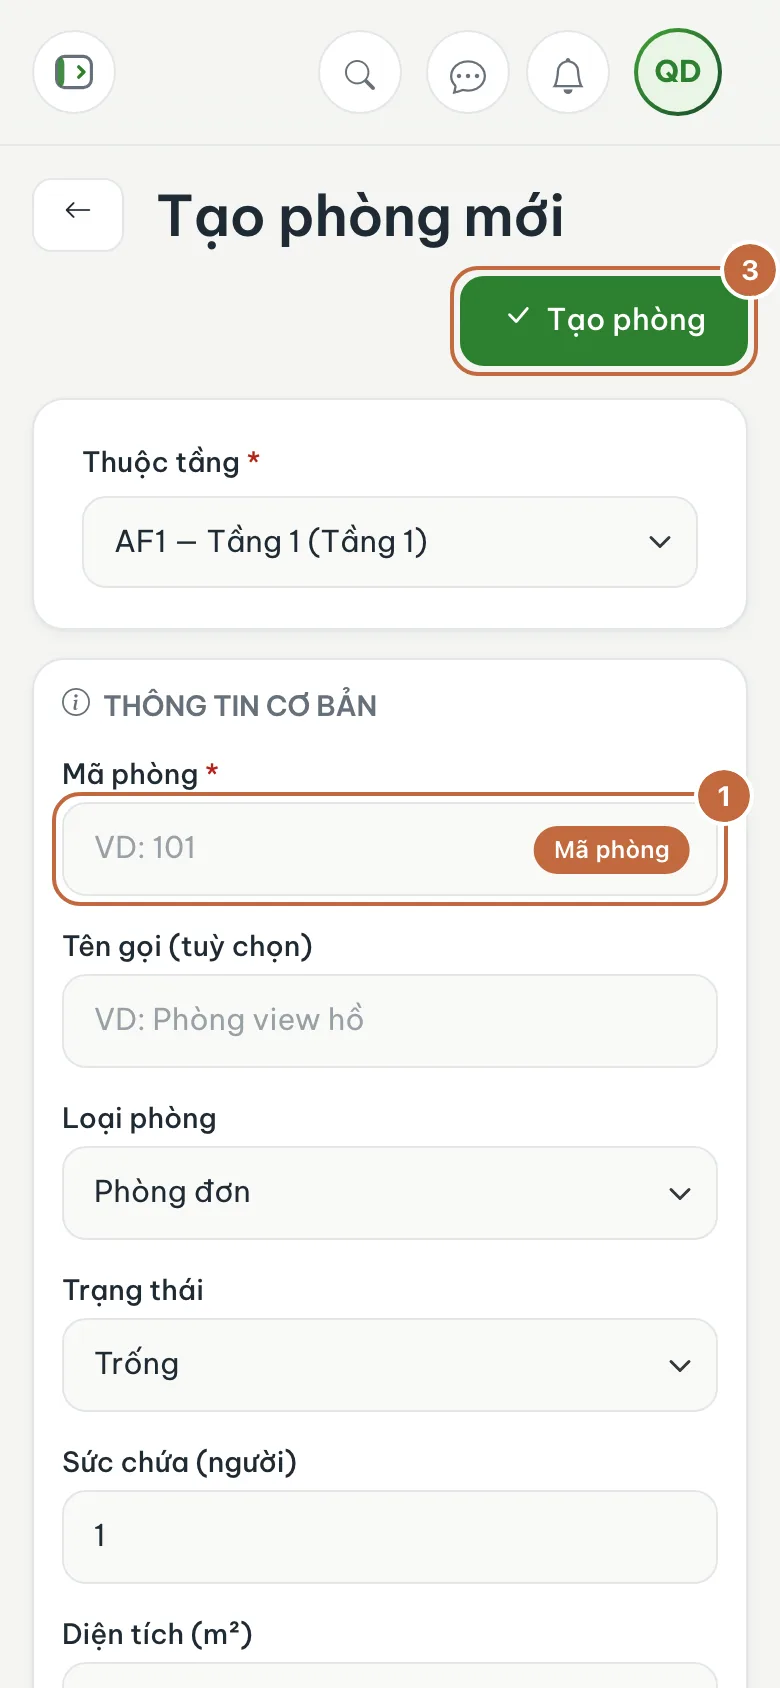
In a phone browser the left menu collapses into an icon in the top corner. The forms for creating buildings, floors and rooms all stack in a single column and work the same way. Entering many rooms in a row is more comfortable on a computer.
FAQ
Do I have to fill in Number of floors when creating a building?
No. Number of floors is for reference only. The real floors are created in the Floors & rooms block, so you still need to add each floor there.
Can I manage several buildings?
Yes. Click Add building as many times as you need; each building has its own floors and rooms. Invoices and reports can be filtered by building.
The room is occupied. Can I change its rent?
Changing a room's rent does not change contracts already in effect. The new price only applies to contracts created afterwards.
Next step
Your rooms are ready. Now welcome your first tenant: Add a tenant and create a contract →
Was this article helpful?
Thanks for your feedback!