
Your organization details and bank account appear on contracts, invoices and the emails sent to tenants. Filling them in completely from the start tells tenants where to send money and saves you from fixing things later. It takes about 5 minutes.
Before you start
- You need to sign in with an account whose role is allowed to update organization info. The owner always has this permission.
- Have your phone number, email, contact address and the bank account that receives rent ready (bank name, account number, account holder).
- A few legal details such as the full name, tax code and plan can only be changed by VinaBos system admins. You can see them but not edit them; contact support if they need to change.
Steps
Open the Organization info page
In the left menu, click Settings (System group), then choose Organization info. On a phone, tap the menu icon in the top left corner and follow the same order.
Enter the display name
In the Branding section, fill in the Display name (①). It appears in the sidebar and the browser tab title. Click Save display name to save. You can also click Upload image to add a logo: a PNG or JPG under 2 MB, ideally square.
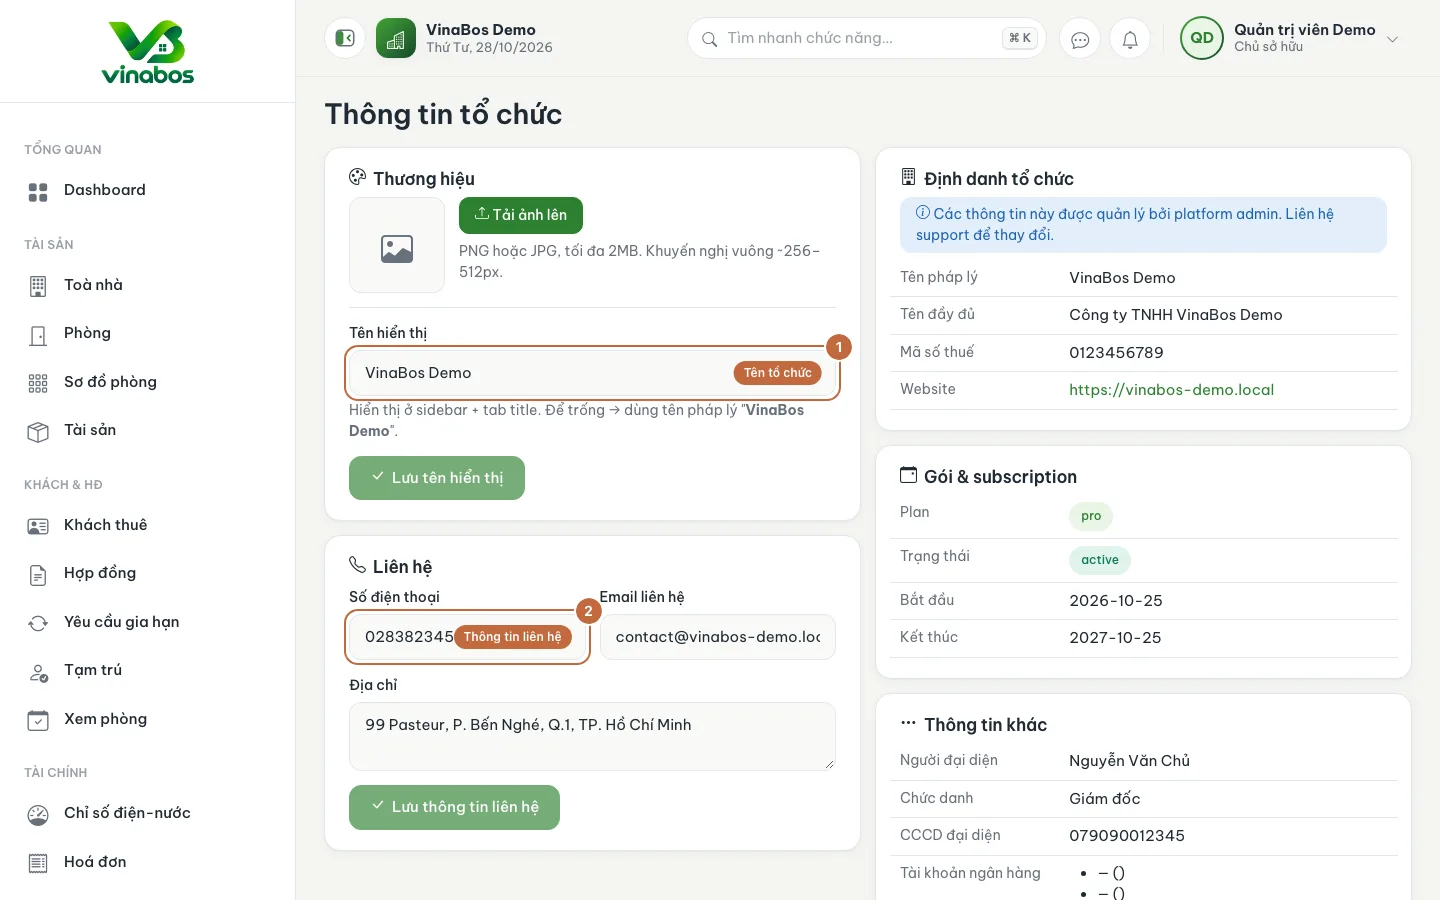
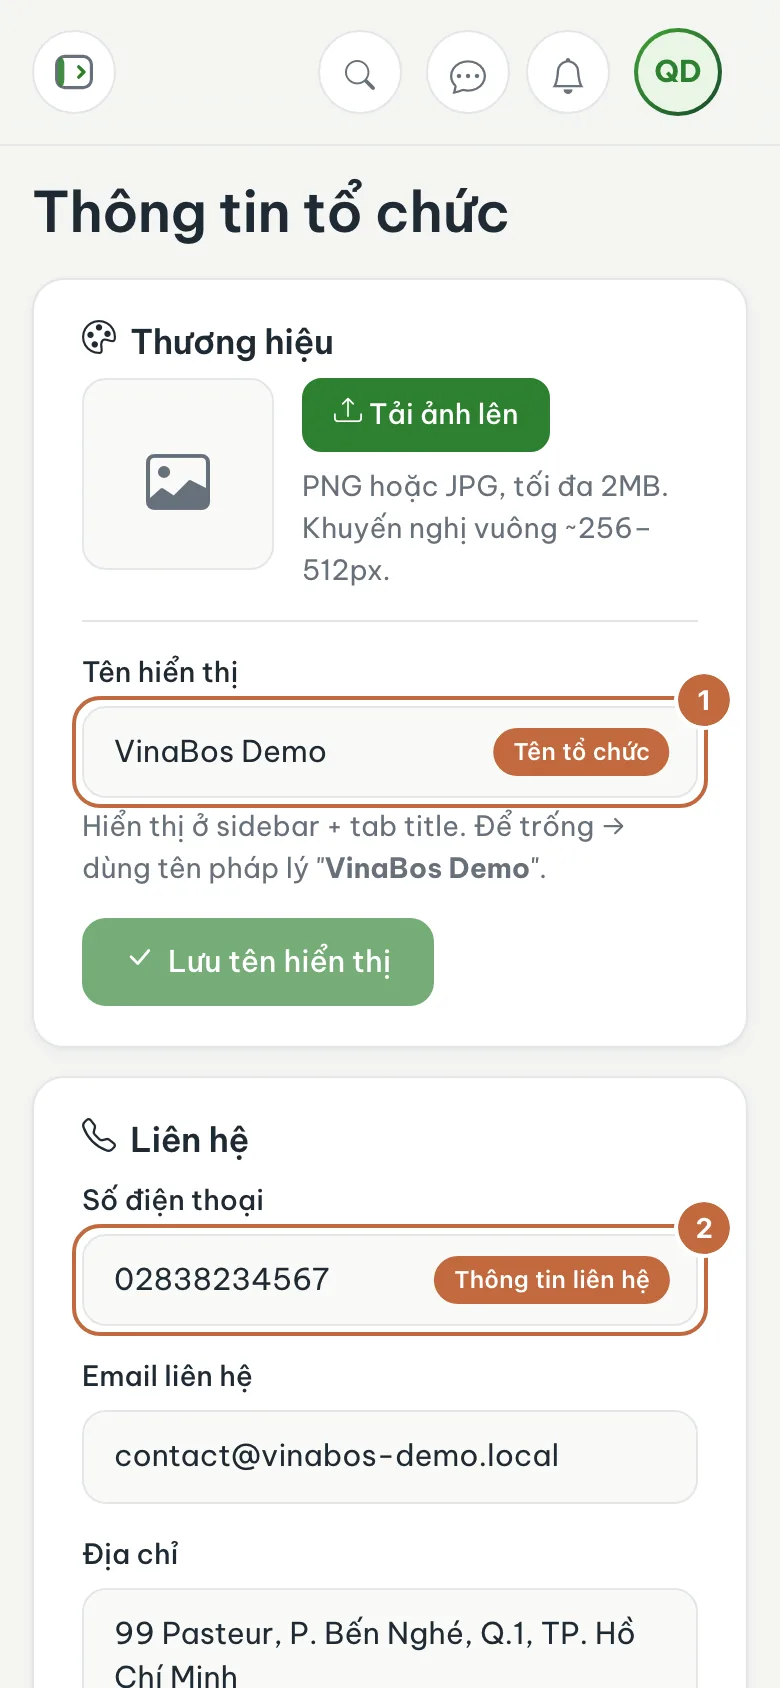
Organization info page: field ① is the Display name, block ② is Contact Fill in the contact details
Scroll down to the Contact section (②): fill in Phone number, Contact email and Address, then click Save contact details. Each block has its own save button, so remember to save each one.
Open the Landlord page
Still under Settings, switch to Landlord. This is where you declare the landlord details printed on contracts and invoices: a personal info block, a Bank account block and a legal entity block (only fill that in if you rent out as a company).
Enter your bank account
The Bank account block (①) has four rows: Account number, Account holder, Bank and Branch. Each row shows "Not set" until you fill it in. Click the pencil icon (②) next to a row, enter the value and save.
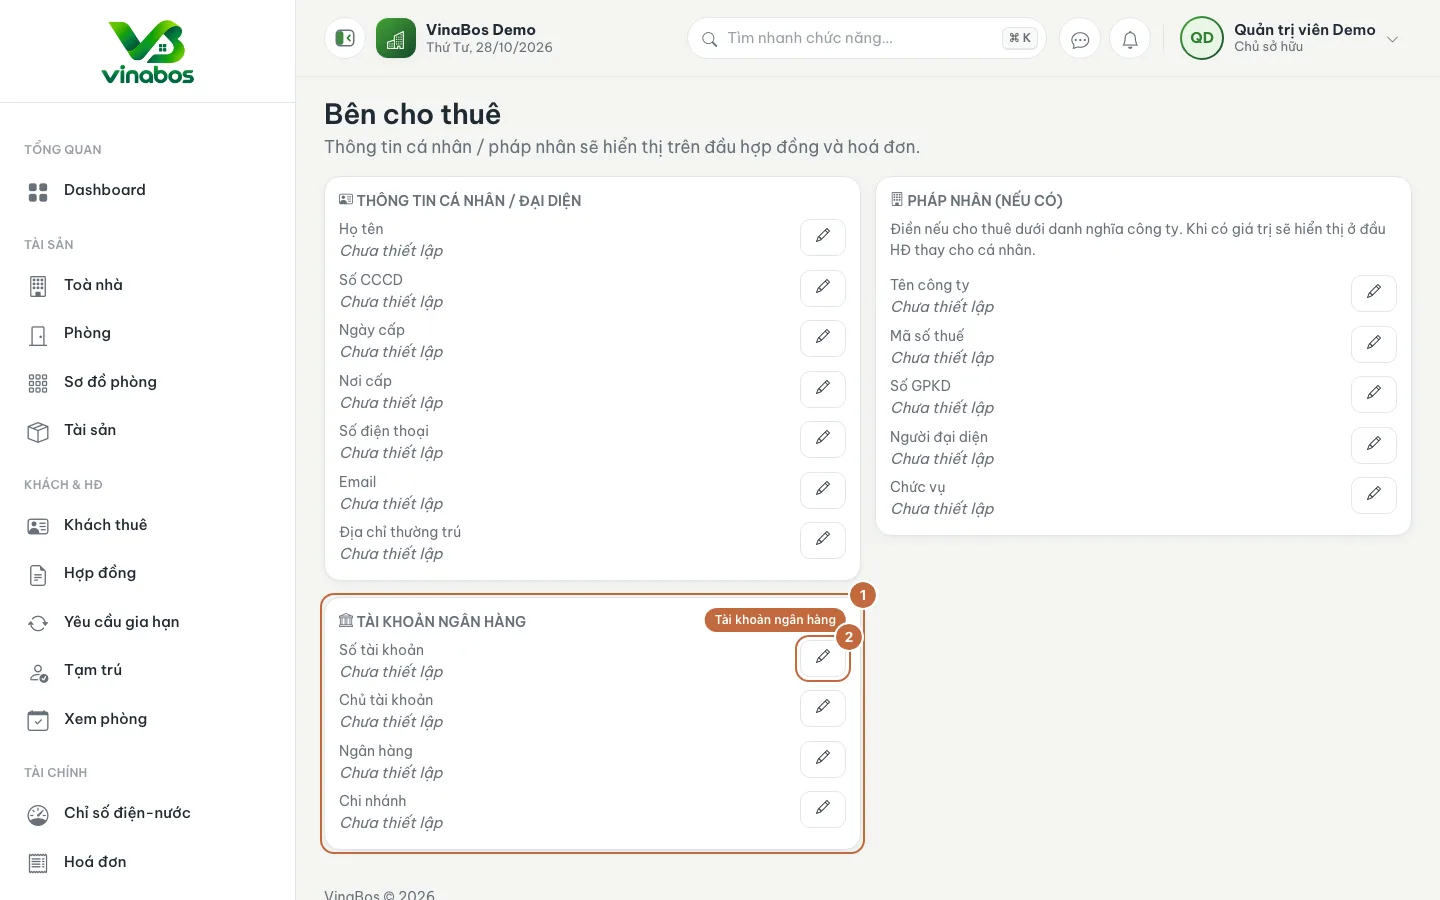
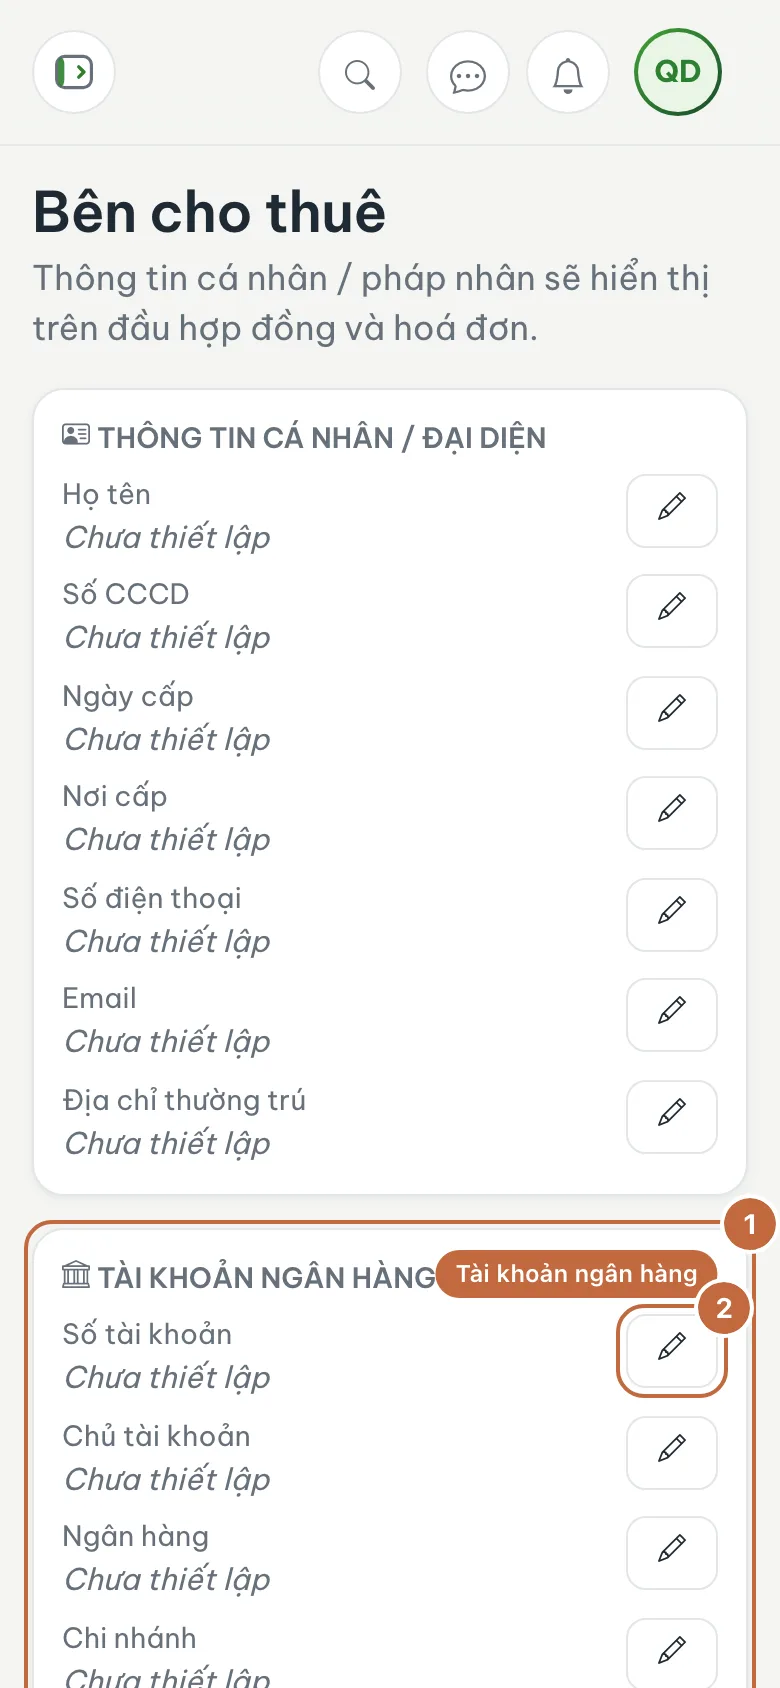
Landlord page: the Bank account block (①) and the pencil button to edit each row (②)
Write the account holder name exactly as it appears on the bank card. Tenants often compare this name before confirming a transfer.
Double-check the account number before saving. One wrong digit can send a tenant's rent to someone else, and it is very hard to get back.
On mobile
The settings pages display well in a phone browser: blocks stack in a single column and you scroll down to see everything. Still, this setup is best done on a computer or a phone browser since there are quite a few fields to enter.
FAQ
I do not see Settings in the menu
Your role has not been granted permission to view settings. Ask the owner to open Settings › Roles and add the permission for you.
I have several bank accounts
For now you declare one main account, printed on contracts and invoices. Choose the account you want tenants to pay into most often.
I changed the details. Do old invoices change too?
Invoices and contracts that have already been issued keep the content they were issued with. The new details apply to invoices and contracts you create from now on.
Next step
Next, set up your property: Create buildings, floors and rooms →
Was this article helpful?
Thanks for your feedback!